


5 Easy Steps to Download and Install WordPress
Introduction
WordPress, the most popular content management system (CMS) in the world, is also one of the easiest to install. Once you understand a few basic concepts, installing WordPress is simple. In this article, I’ll show you how to download and install WordPress from your own computer on Windows 10 with WampServer and MySQL.
Install WordPress on your own Windows computer (localhost).
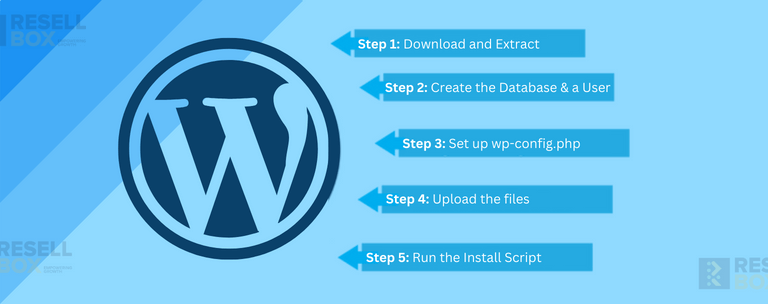
- Download and install WAMP Server
- Download WordPress
- Extract the downloaded file to the WAMP directory (e.g., C:\Program Files\Apache Software Foundation)\apache-2\. It will create an Apache folder with two subfolders: www and tmp, which contains your website files that you can use later on when testing or troubleshooting issues with your site.
- In order to run WordPress locally, first start up PHP by typing php -i from within any directory where you have placed all of your required software components such as MySQL or FTP programs etcetera; then enter into the command prompt window by typing “cd” followed by “/scripts/wordpress/” where “/scripts/wordpress/” represents whichever folder was created during step 2 above; type php -c “” at this point in order to run WordPress manually without having had any previous experience using WAMP Server beforehand!
Downloading WampServer.
The first step to installing WordPress on your computer is downloading and installing WampServer. This free web server for Windows can be found here, and it’s a good choice because it’s easy to install and use. Using this tool will allow you to:
- Install WordPress with one click
- Run your website locally without having a server running in the background
Installing WampServer.
To install WampServer, you will first need to download the latest version from the official website. You may also want to check out our guide on how to download WordPress manually if you’d like more information about this step.
Once you’ve downloaded and installed WampServer on your computer, create an account by clicking on “Create New Account” in the upper right corner of your screen. This process is fairly straightforward; just provide a username and password for yourself (or another user), then click next until you’re done!
Setting up WordPress.
Now that you’ve created your database and user for WordPress, it’s time to set up the rest of the features:
- Hosting. This is where you’ll set up your server hostname, port number, and other options like PHP version (7 or later) and MySQL engine. You can also choose whether or not to enable WordPress’ built-in caching feature; this will help speed up page loads by streaming data from local storage rather than loading every page that needs it again from scratch when accessed in your browser.
- If this isn’t something you care about right now—and I suspect most people won’t be concerned with it—then feel free not to worry about it here! Just remember that if any part of what we’re doing requires access through port 80 (HTTP), then we’ll need a server running on port 80 as well as one running on whatever other ports are needed by different plugins/features included within our install package(s).
Creating a MySQL Database for WordPress.
The next step is to create a database for your website, which will be used by WordPress to store information about each website user. You will need to create a database and user account before you can download, install and use WordPress on your site.
Step 1: Navigate to [your_website]/wp-admin/options-general.php in the root of your WordPress installation directory (i.e., “/var/www/html”).
Step 2: Click on “Databases” under “General” then click “New Database…” at the bottom right corner of this screen; enter a name for your database such as ‘wordpress’ or something meaningful like so:
Installing WordPress on your localhost.
Now that you’ve downloaded and installed WordPress, it’s time to install it on your host. It’s a bit different from installing the WordPress client because there are many more steps involved.
You’ll first need to create a database for your site by using phpMyAdmin or another similar tool. This will allow us to store information about users and posts in our database so that they can be accessed through our website later on when we need them (more on this later). You’ll also have to create an administrator account—a user who has access privileges over everything else on your server—in order for other users or visitors accessing their own websites through yours (e-commerce) via FTP/SFTP etc., otherwise they won’t be able see what’s going on behind-the-scenes!
Getting Familiar with the Dashboard.
The dashboard is the control panel for your site, and it’s where you can manage everything from adding new content to editing posts.
The dashboard has several sections:
- The Pages section displays all of your blog posts in chronological order. You can also use this section to add new pages or edit existing ones.
- The Galleries area contains galleries that display images from your media library (if you have any). It’s useful for showcasing photos on a larger scale than traditional blog posts or single images would allow.
- The Front Page shows off any new posts or updates made recently; this is also where visitors go when they land on your site via a search engine result page (SERP).
Making Your Site Visible to the World.
The next step is to upload your site to a web host. This is where you’ll be storing all of your content and assets, as well as setting up a domain name for the website.
Once you’ve uploaded everything and are ready to publish, it’s time to set up DNS (Domain Name System). This system allows computers on the internet to find each other by name instead of by IP address. DNS stands for Domain Name System. To use this feature with WordPress, simply type “DNS” into any web browser when asked how you want to connect with it; then enter one or more IP addresses corresponding with those that belong directly below yours—you may need two if they aren’t in close proximity!
After you’ve installed your local copy of wordpress, you can make it visible by uploading it to the internet
After you’ve installed your local copy of wordpress, you can make it visible by uploading it to the internet. This is also known as “hosting” or “hosting on a web host.” There are many different ways that you can do this and we’ll show you a couple of them below.
- Web Host: If your site will be relatively small and simple in nature, consider using a web host like Resellbox. It provide reliable hosting services with features such as 24/7 customer support, free domain registration (we recommend .com), free email accounts (we recommend gmail), SSL certificates for extra security (which are required if someone else doesn’t already own one), etc., all at very affordable prices!
- While web hosting is quite helpful as it is the easiest way to get your site online. If you don’t have a website already, we recommend using Resellbox for your first website because they have great customer support and offer hosting plans starting at ₹59.70 per month (plus domain registration fees).
Conclusion
Now you have a WordPress site installed on your local computer, and hopefully you’re excited to make it public. The first step is to upload it to the internet so that anyone can see it. With this guide, we’ve shown how easy that process is! If you need any more help then feel free to leave a comment below or contact us directly via social media (Facebook & Twitter).